This article is the 12th part of the tutorial series called Node Hero - in these chapters, you can learn how to get started with Node.js and deliver software products using it.
In this Node.js deployment tutorial, you are going to learn how to deploy Node.js applications to either a PaaS provider (Heroku) or with using Docker.
Upcoming and past chapters:
- Getting started with Node.js
- Using NPM
- Understanding async programming
- Your first Node.js server
- Node.js database tutorial
- Node.js request module tutorial
- Node.js project structure tutorial
- Node.js authentication using Passport.js
- Node.js unit testing tutorial
- Debugging Node.js applications
- Node.js Security Tutorial
- How to Deploy Node.js Applications [you are reading it now]
- Monitoring Node.js Applications
Deploy Node.js to a PaaS
Platform-as-a-Service providers can be a great fit for teams who want to do zero operations or create small applications.
In this part of the tutorial, you are going to learn how to use Heroku to deploy your Node.js applications with ease.
Prerequisites for Heroku
To deploy to Heroku, we have to push code to a remote git repository. To achieve this, add your public key to Heroku. After registration, head over to your account and save it there (alternatively, you can do it with the CLI).
We will also need to download and install the Heroku toolbelt. To verify that your installation was successful, run the following command in your terminal:
heroku --version
heroku-toolbelt/3.40.11 (x86_64-darwin10.8.0) ruby/1.9.3
Once the toolbelt is up and running, log in to use it:
heroku login
Enter your Heroku credentials.
Email: joe@example.com
Password:
(For more information on the toolkit, head over to the Heroku Devcenter)
Deploying to Heroku

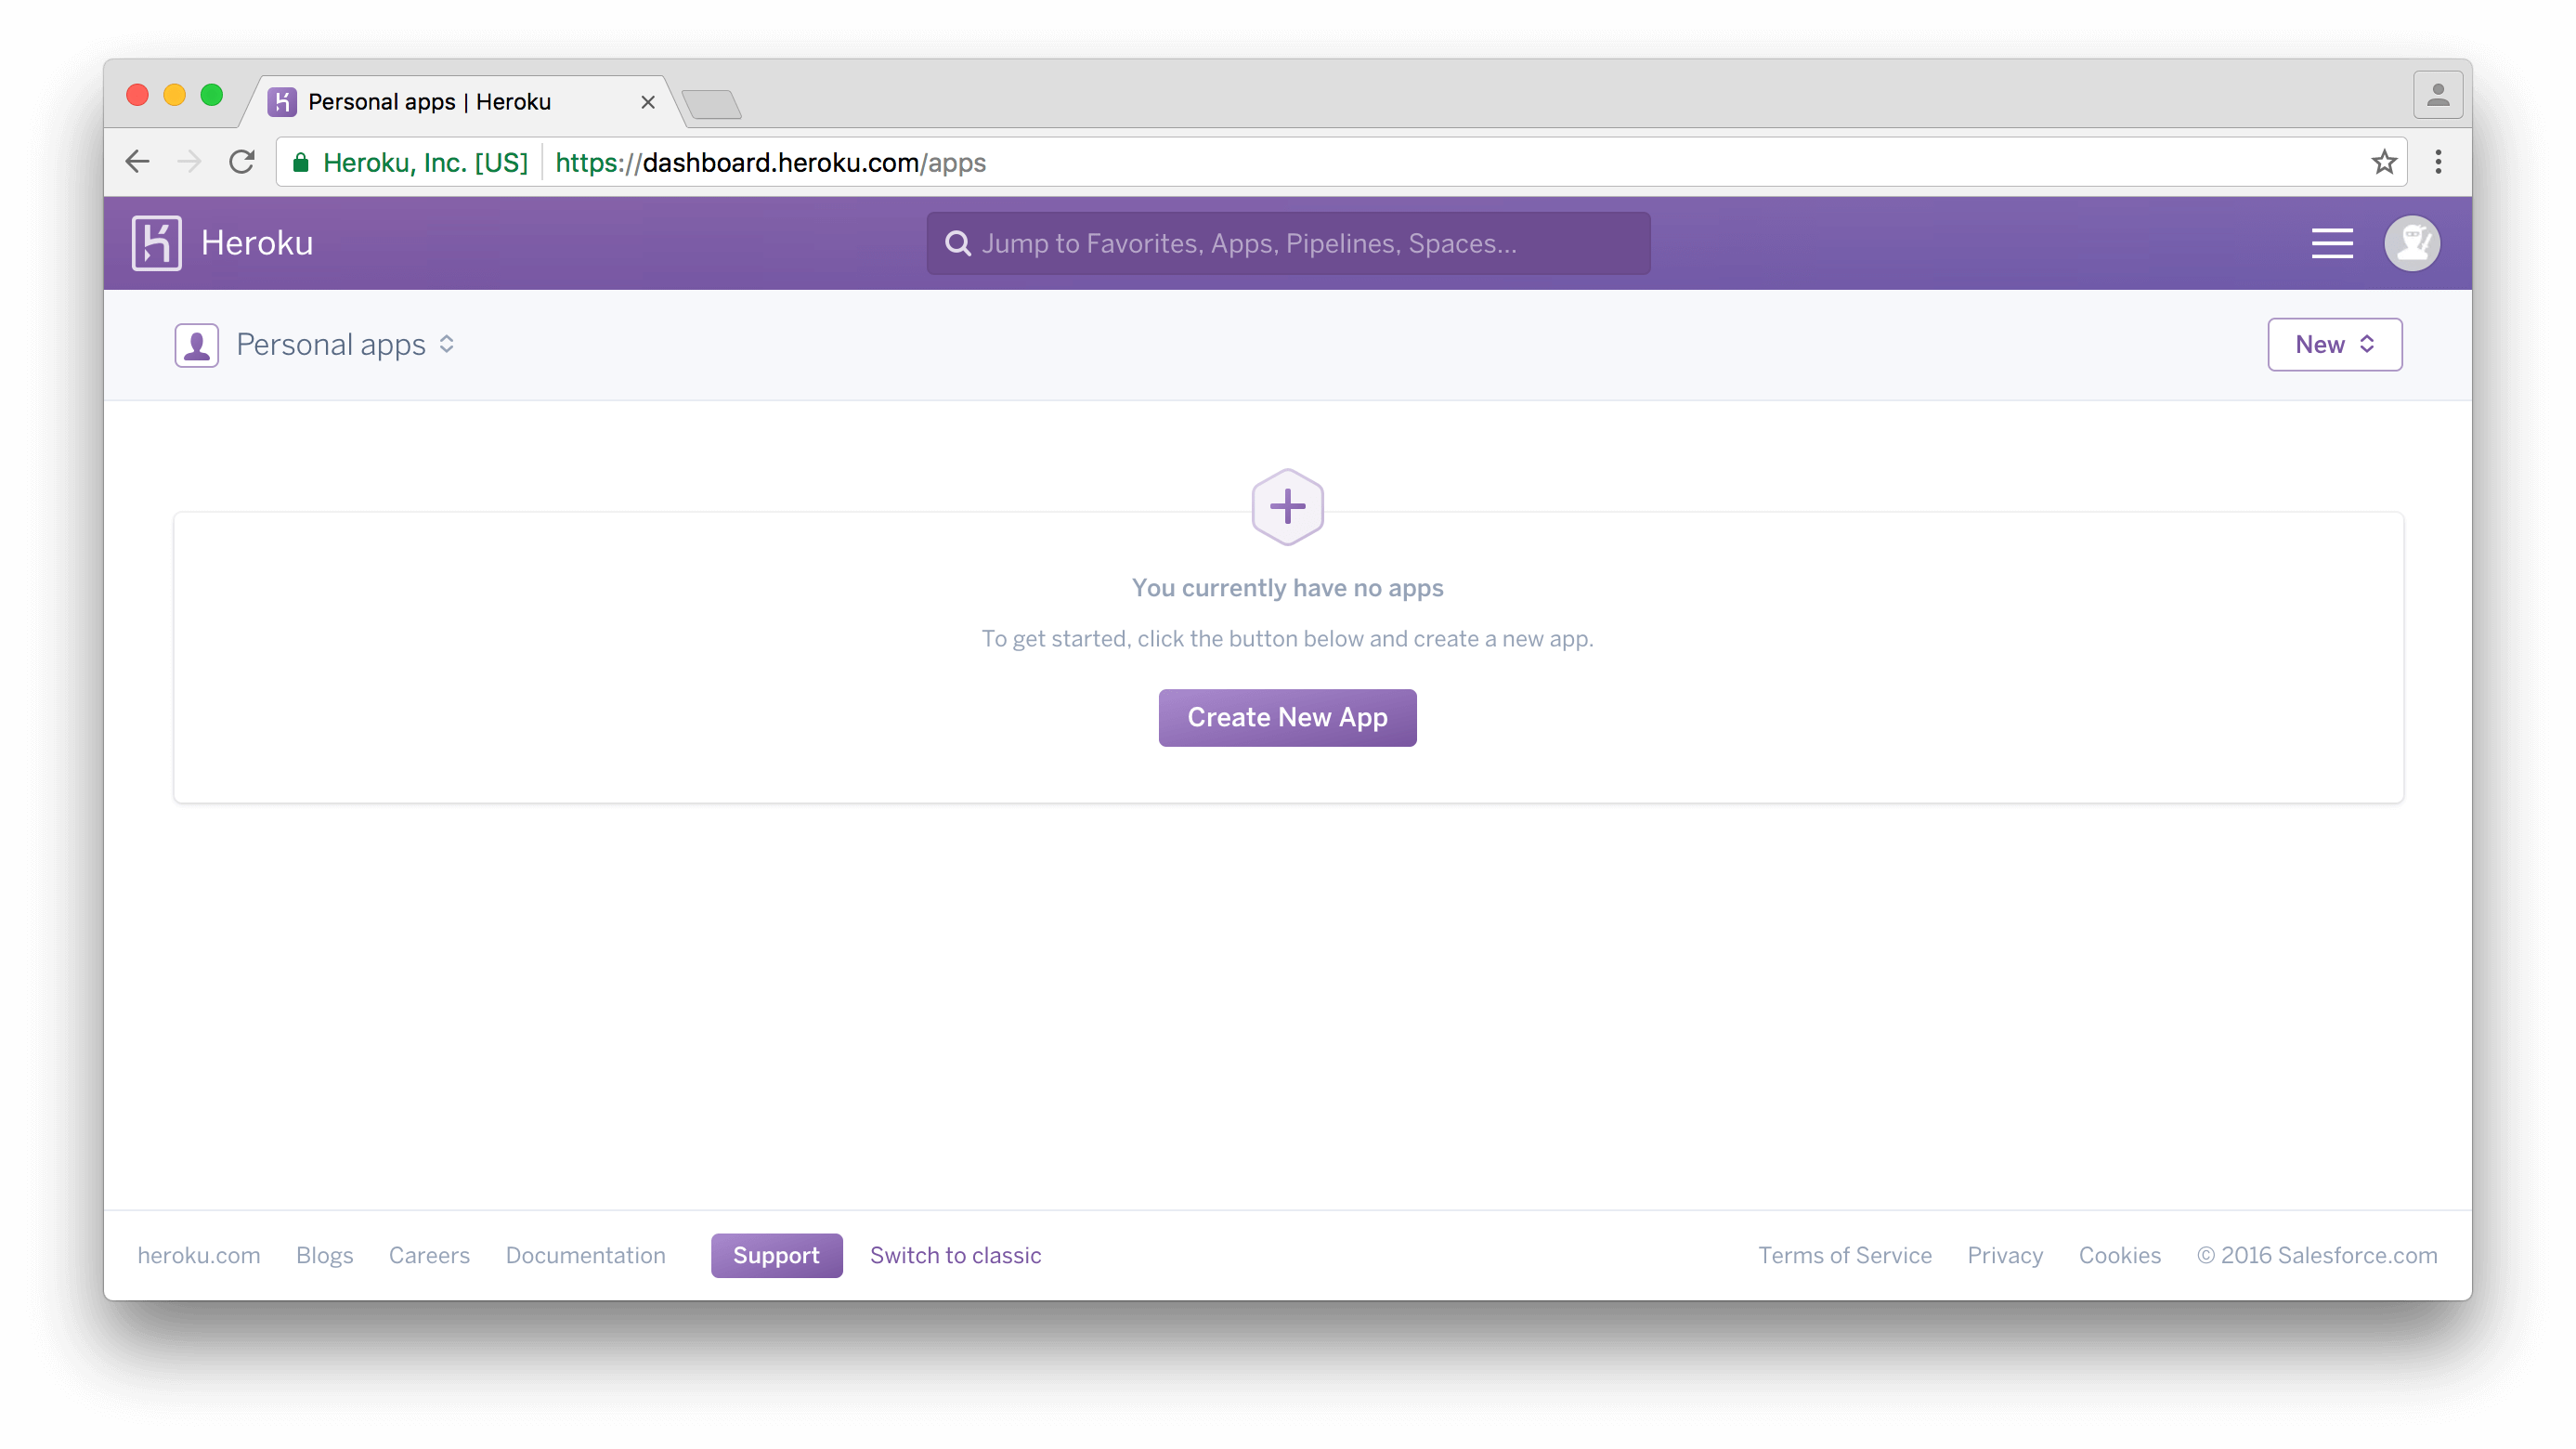
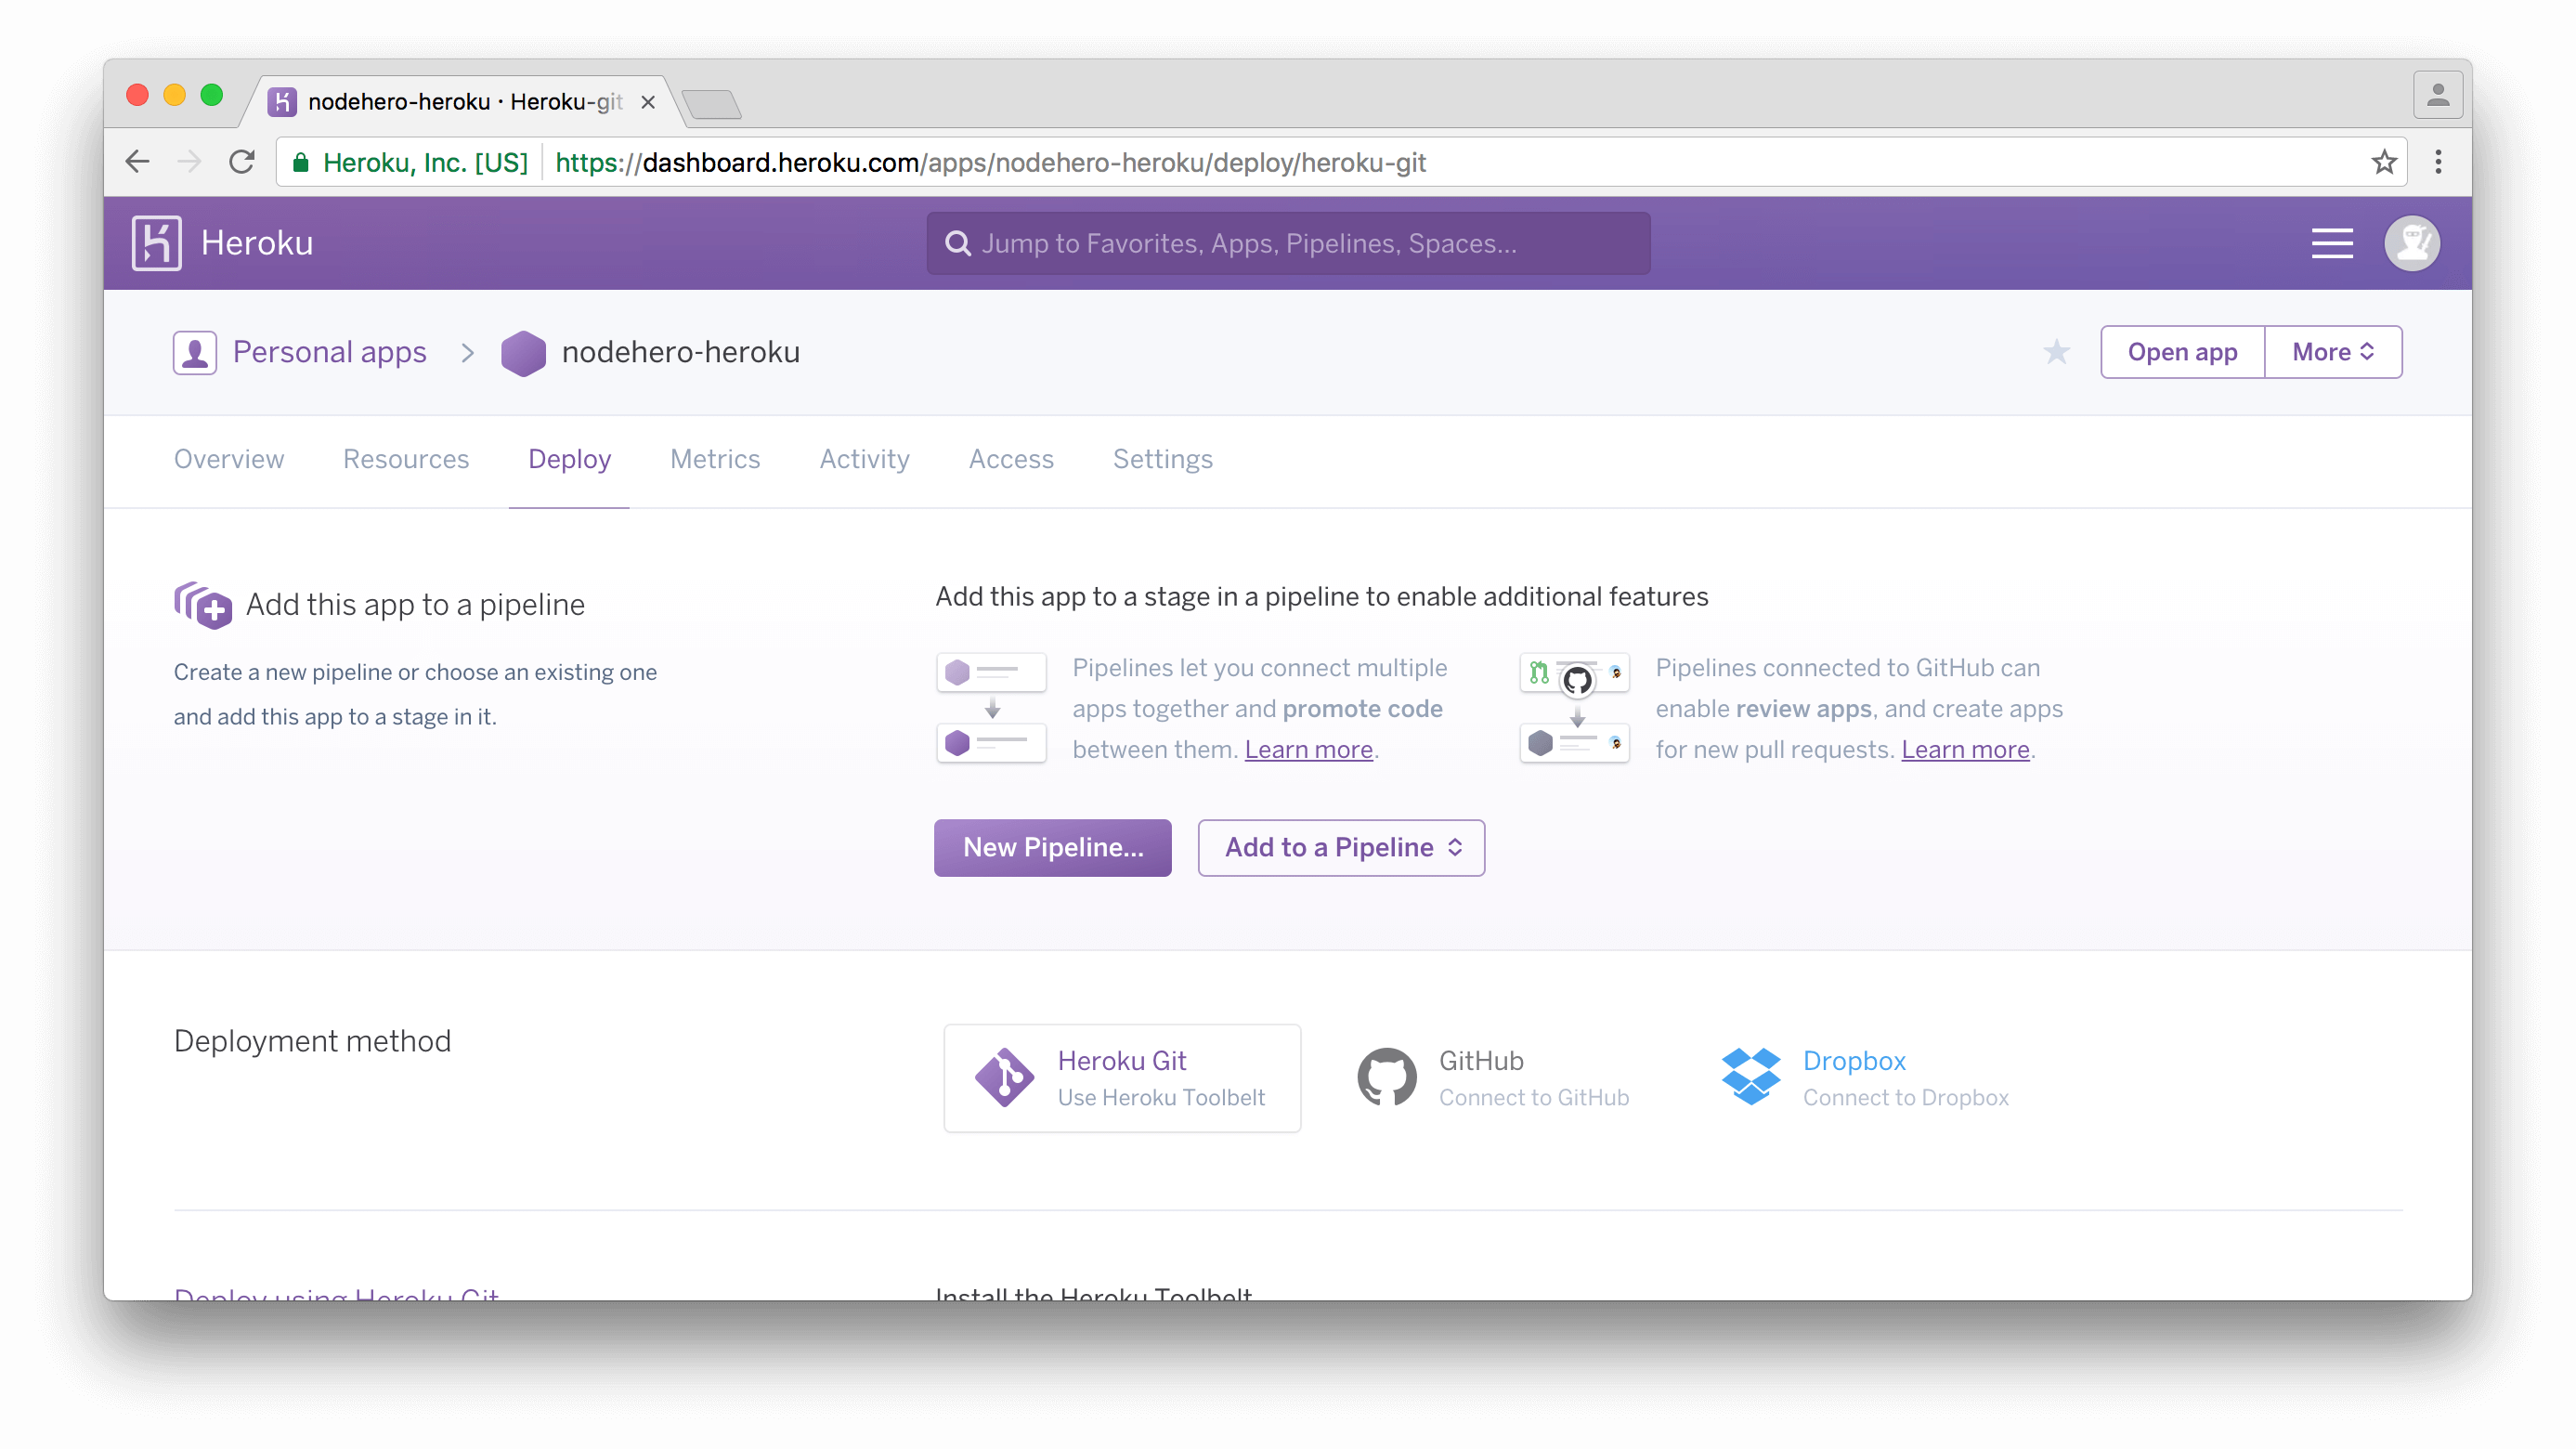
Click Create New App, add a new and select a region. In a matter of seconds, your application will be ready, and the following screen will welcome you:

Go to the Settings page of the application, and grab the Git URL. In your terminal, add the Heroku remote url:
git remote add heroku HEROKU_URL
You are ready to deploy your first application to Heroku - it is really just a
git push away:git push heroku master
Once you do this, Heroku starts building your application and deploys it as well. After the deployment, your service will be reachable at
https://YOUR-APP-NAME.herokuapp.comHeroku Add-ons
One of the most valuable part of Heroku is its ecosystem since there are dozens of partners providing databases, monitoring tools, and other solutions.
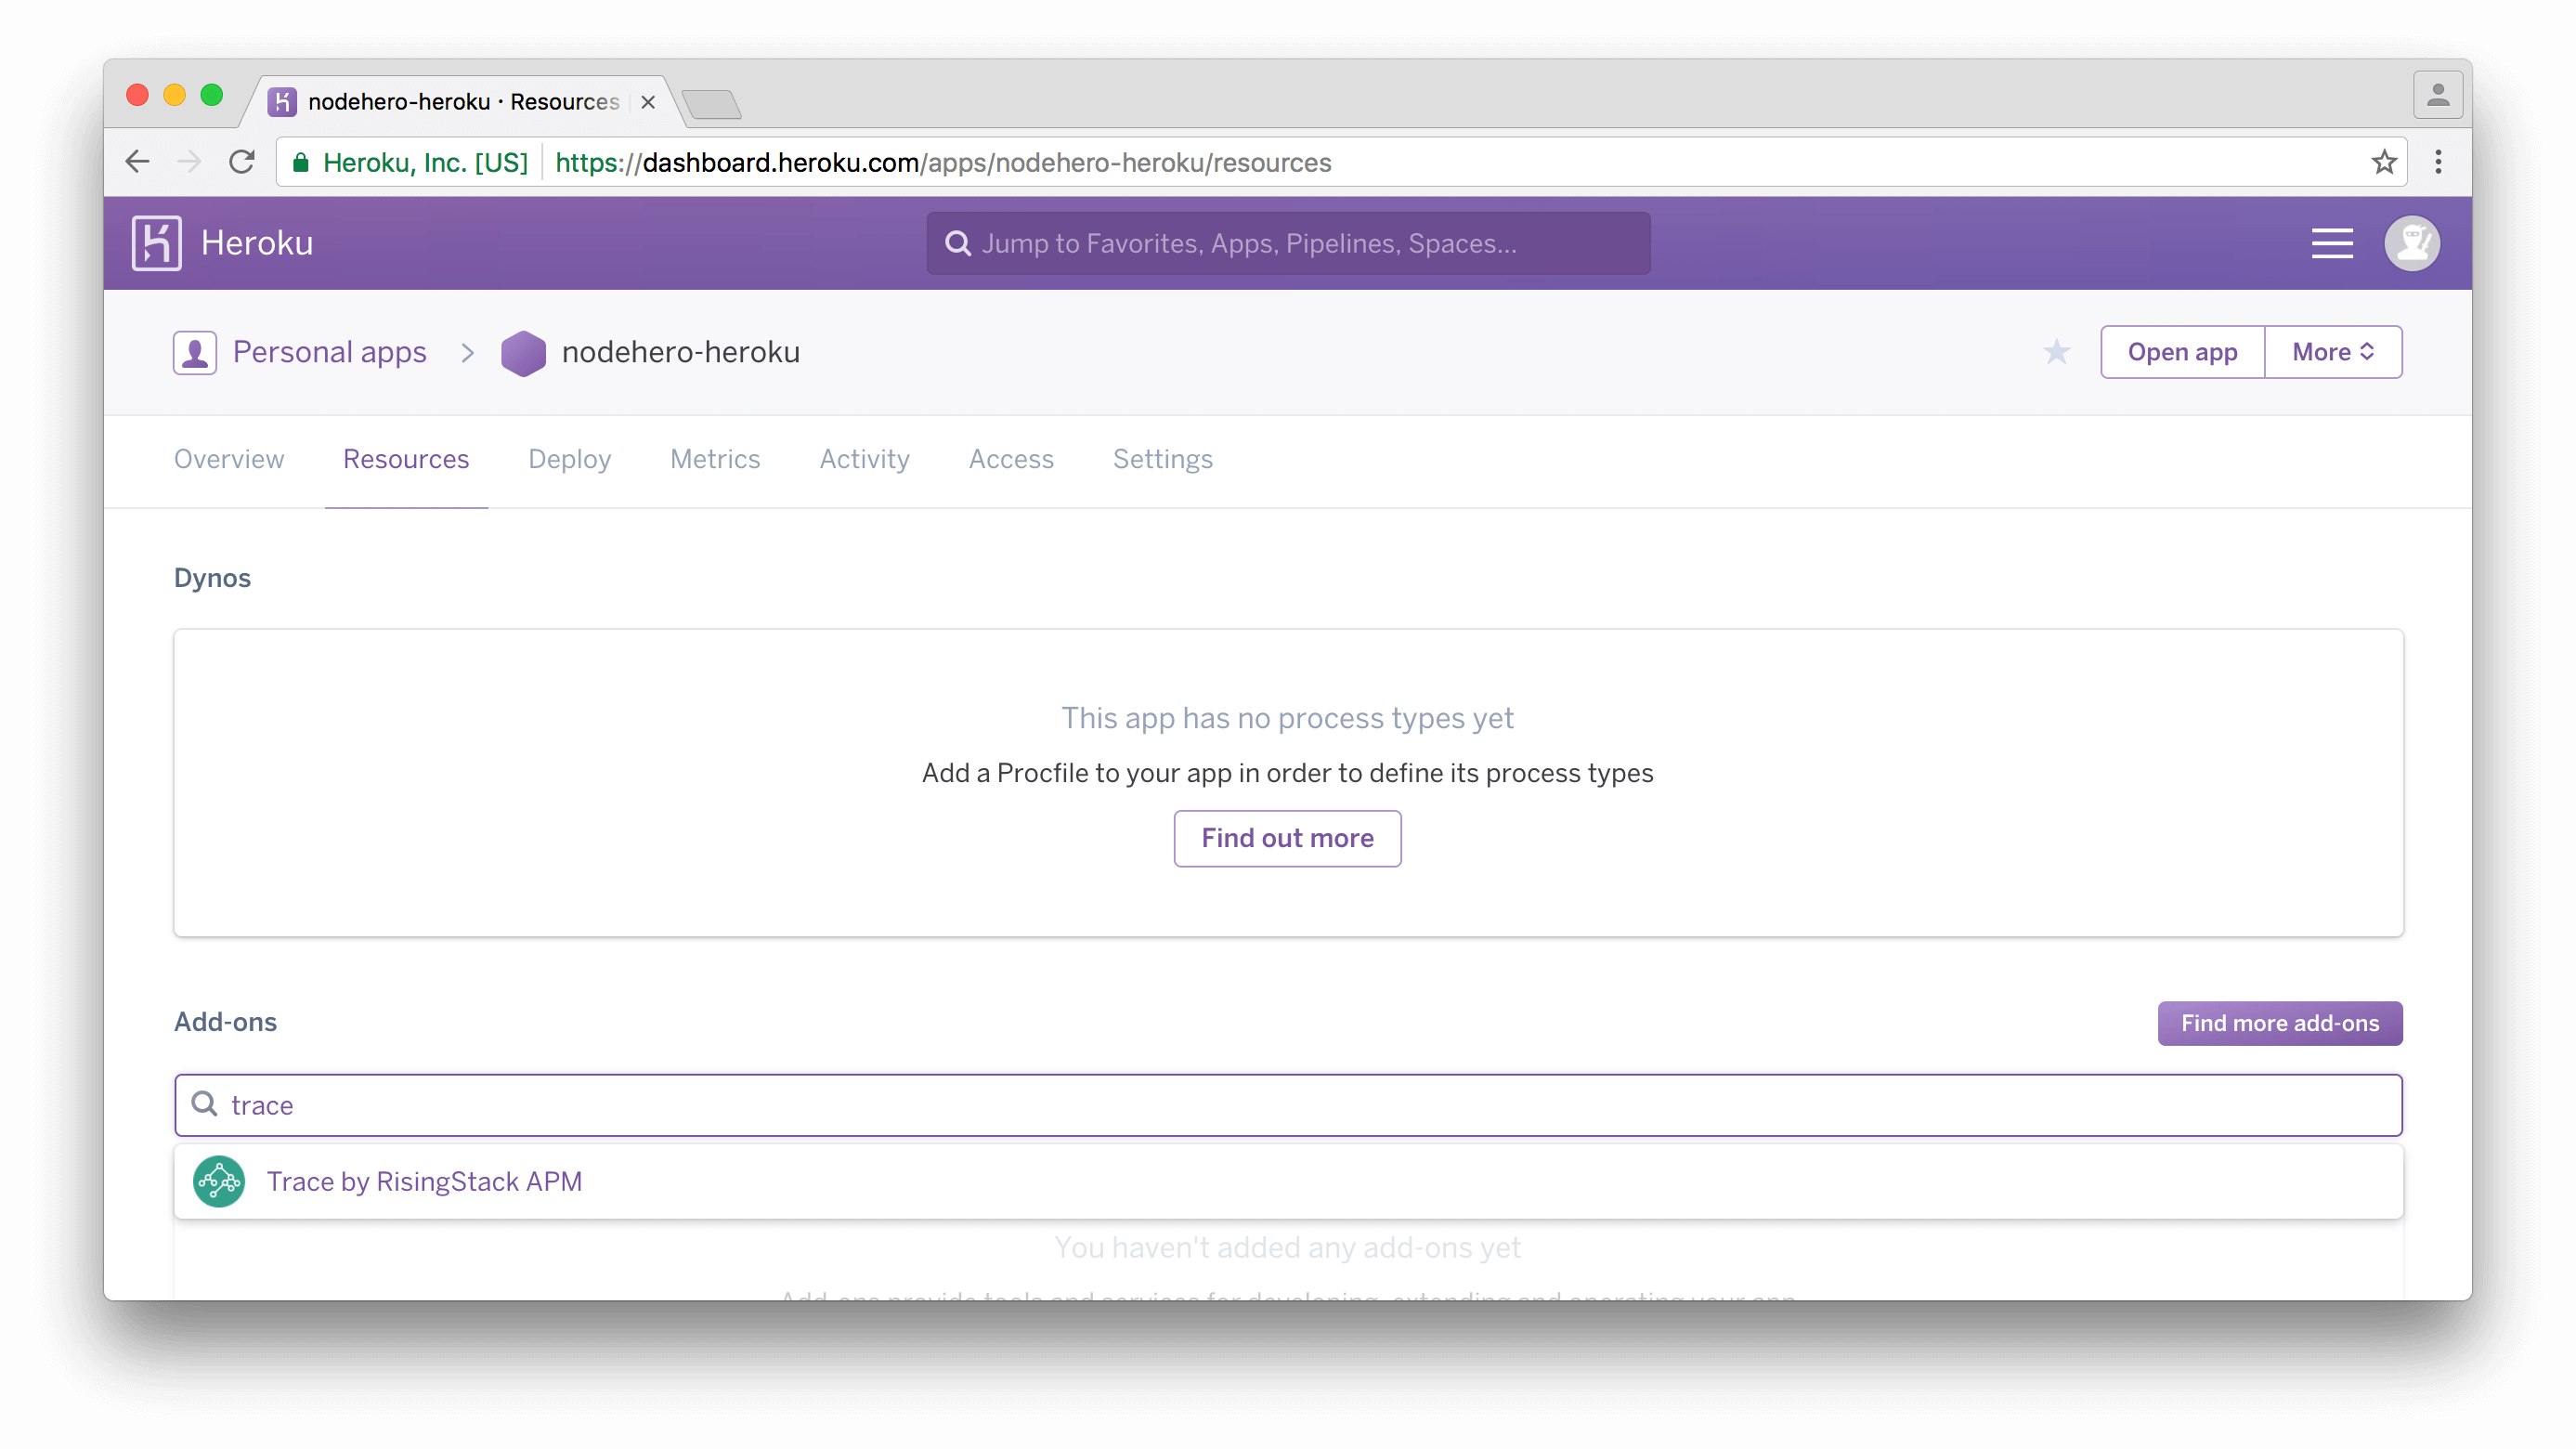
To try out an add-on, install Trace, our Node.js monitoring solution. To do so, look for Add-ons on your application's page, and start typing Trace, then click on it to provision. Easy, right?

(To finish the Trace integration, follow our Heroku guide.)
Deploy Node.js using Docker
In the past years Docker gained a massive momentum and became the go-to containerization software.
In this part of the tutorial, you are going to learn how to create images from your Node.js applications and run them.
Docker Basics
To get started with Docker, download and install it from the Docker website.
Putting a Node.js application inside Docker
First, we have to get two definitions right:
- Dockerfile: you can think of the Dockerfile as a receipt - it includes instructions on how to create a Docker image
- Docker image: the output of the Dockerfile run - this is the runnable unit
In order to run an application inside Docker, we have to write the Dockerfile first.
Dockerfile for Node.js
In the root folder of your project, create a
Dockerfile, an empty text file, then paste the following code into it:FROM risingstack/alpine:3.3-v4.2.6-1.1.3
COPY package.json package.json
RUN npm install
# Add your source files
COPY . .
CMD ["npm","start"]
Things to notice here:
FROM: describes the base image used to create a new image - in this case it is from the public Docker HubCOPY: this command copies thepackage.jsonfile to the Docker image so that we can runnpm installinsideRUN: this runs commands, in this casenpm installCOPYagain - note, that we have done the copies in two separate steps. The reason is, that Docker creates layers from the command results, so if ourpackage.jsonis not changing, it won't donpm installagainCMD: a Docker image can only have oneCMD- this defines what process should be started with the image
Once you have the
Dockerfile, you can create an image from it using:docker build .
Using private NPM modules? Check out our tutorial on how to install private NPM modules in Docker!
After the successful build of your image, you can list them with:
docker images
To run an image:
docker run IMAGE_ID
Congratulations! You have just run a Dockerized Node.js application locally. Time to deploy it!
Deploying Docker Images
One of the great things about Docker is that once you have a build image, you can run it everywhere - most environments will just simply
docker pull your image, and run it.
Some providers that you can try:
- AWS BeanStalk
- Heroku Docker Support
- Docker Cloud
- Kubernetes on Google Cloud - (I highly recommend to read our article on moving to Kubernetes from our PaaS provider)
Setting them up is very straightforward - if you run into any problems, feel free to ask in the comments section!
Great Article
ReplyDeleteNode.js Project Topics for Computer Science
FInal Year Project Centers in Chennai
JavaScript Training in Chennai
JavaScript Training in Chennai